Quick Tip in Affinity Designer: Change Color with Recolor Adjustment on iPad
I may receive commissions from purchases made through links in this article. I wouldn't promote them if I didn't believe in them wholeheartedly! (At no additional cost to you)Recolor Artwork in Affinity Designer on iPad (Quick Tip You’ll Actually Use)
📌 Pin for later
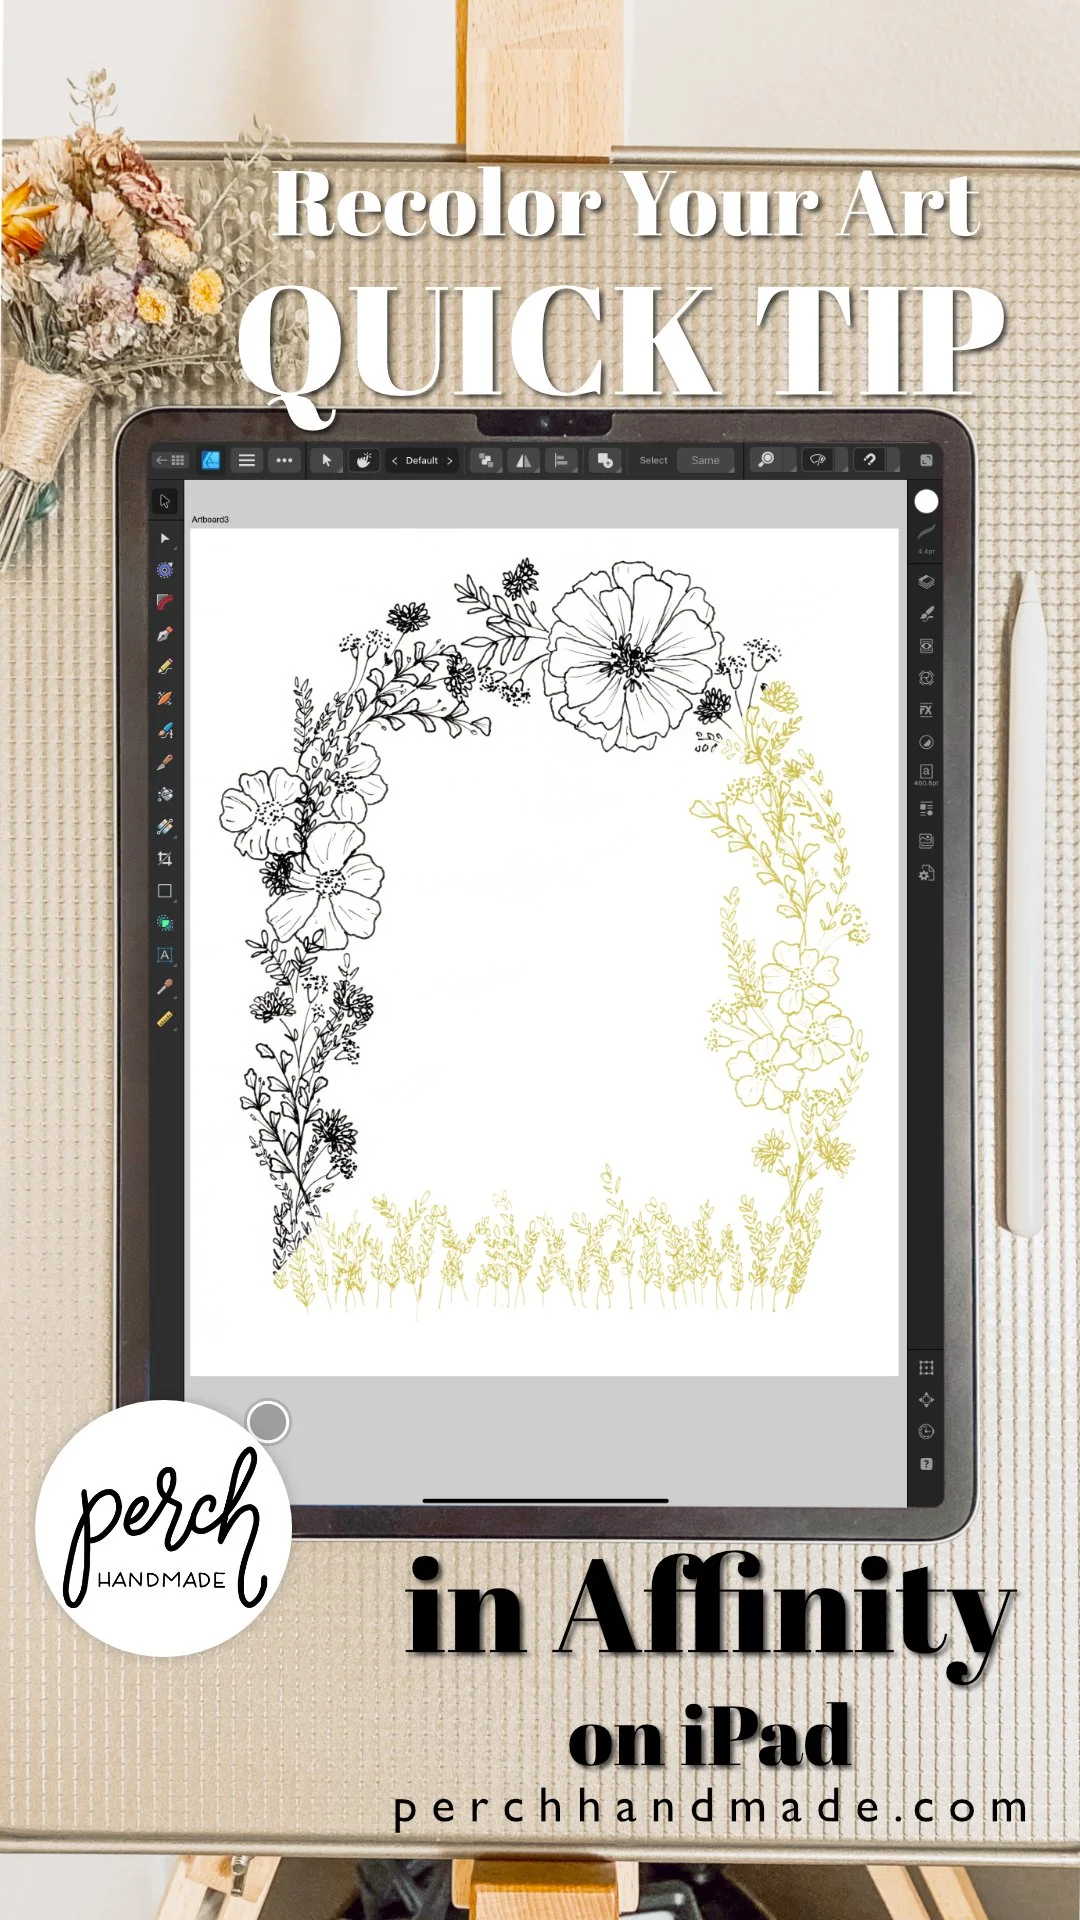
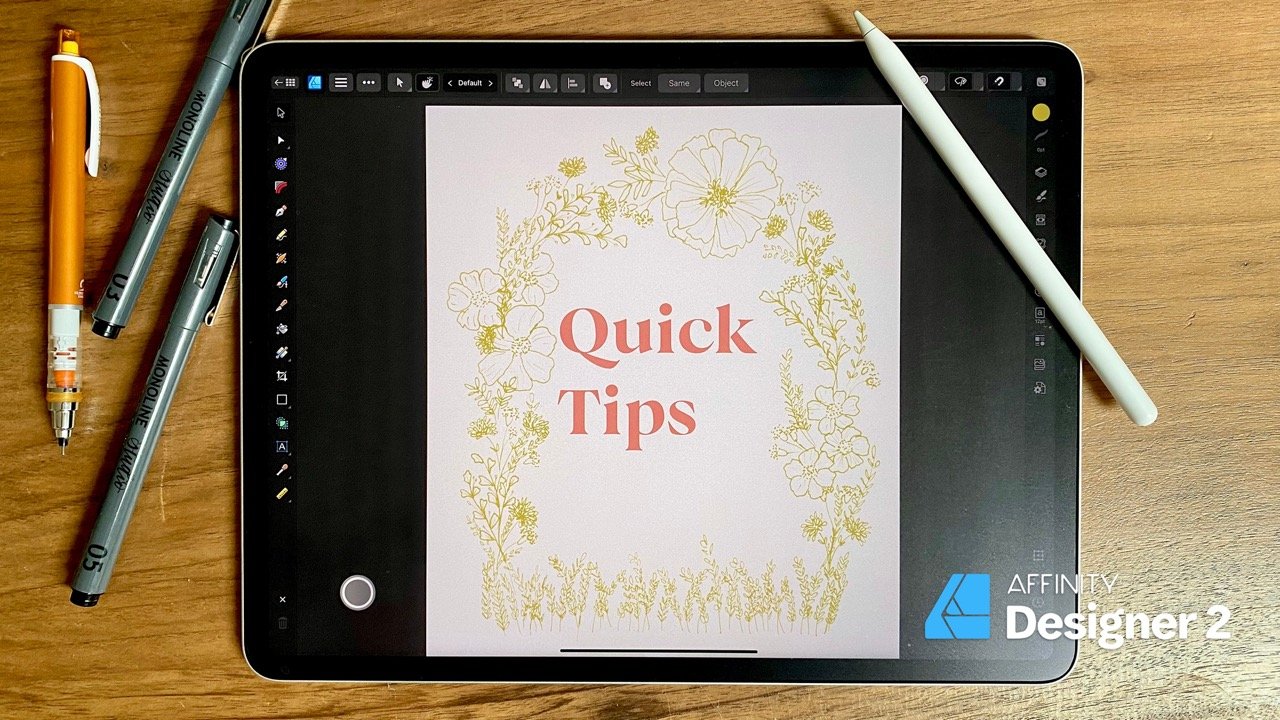
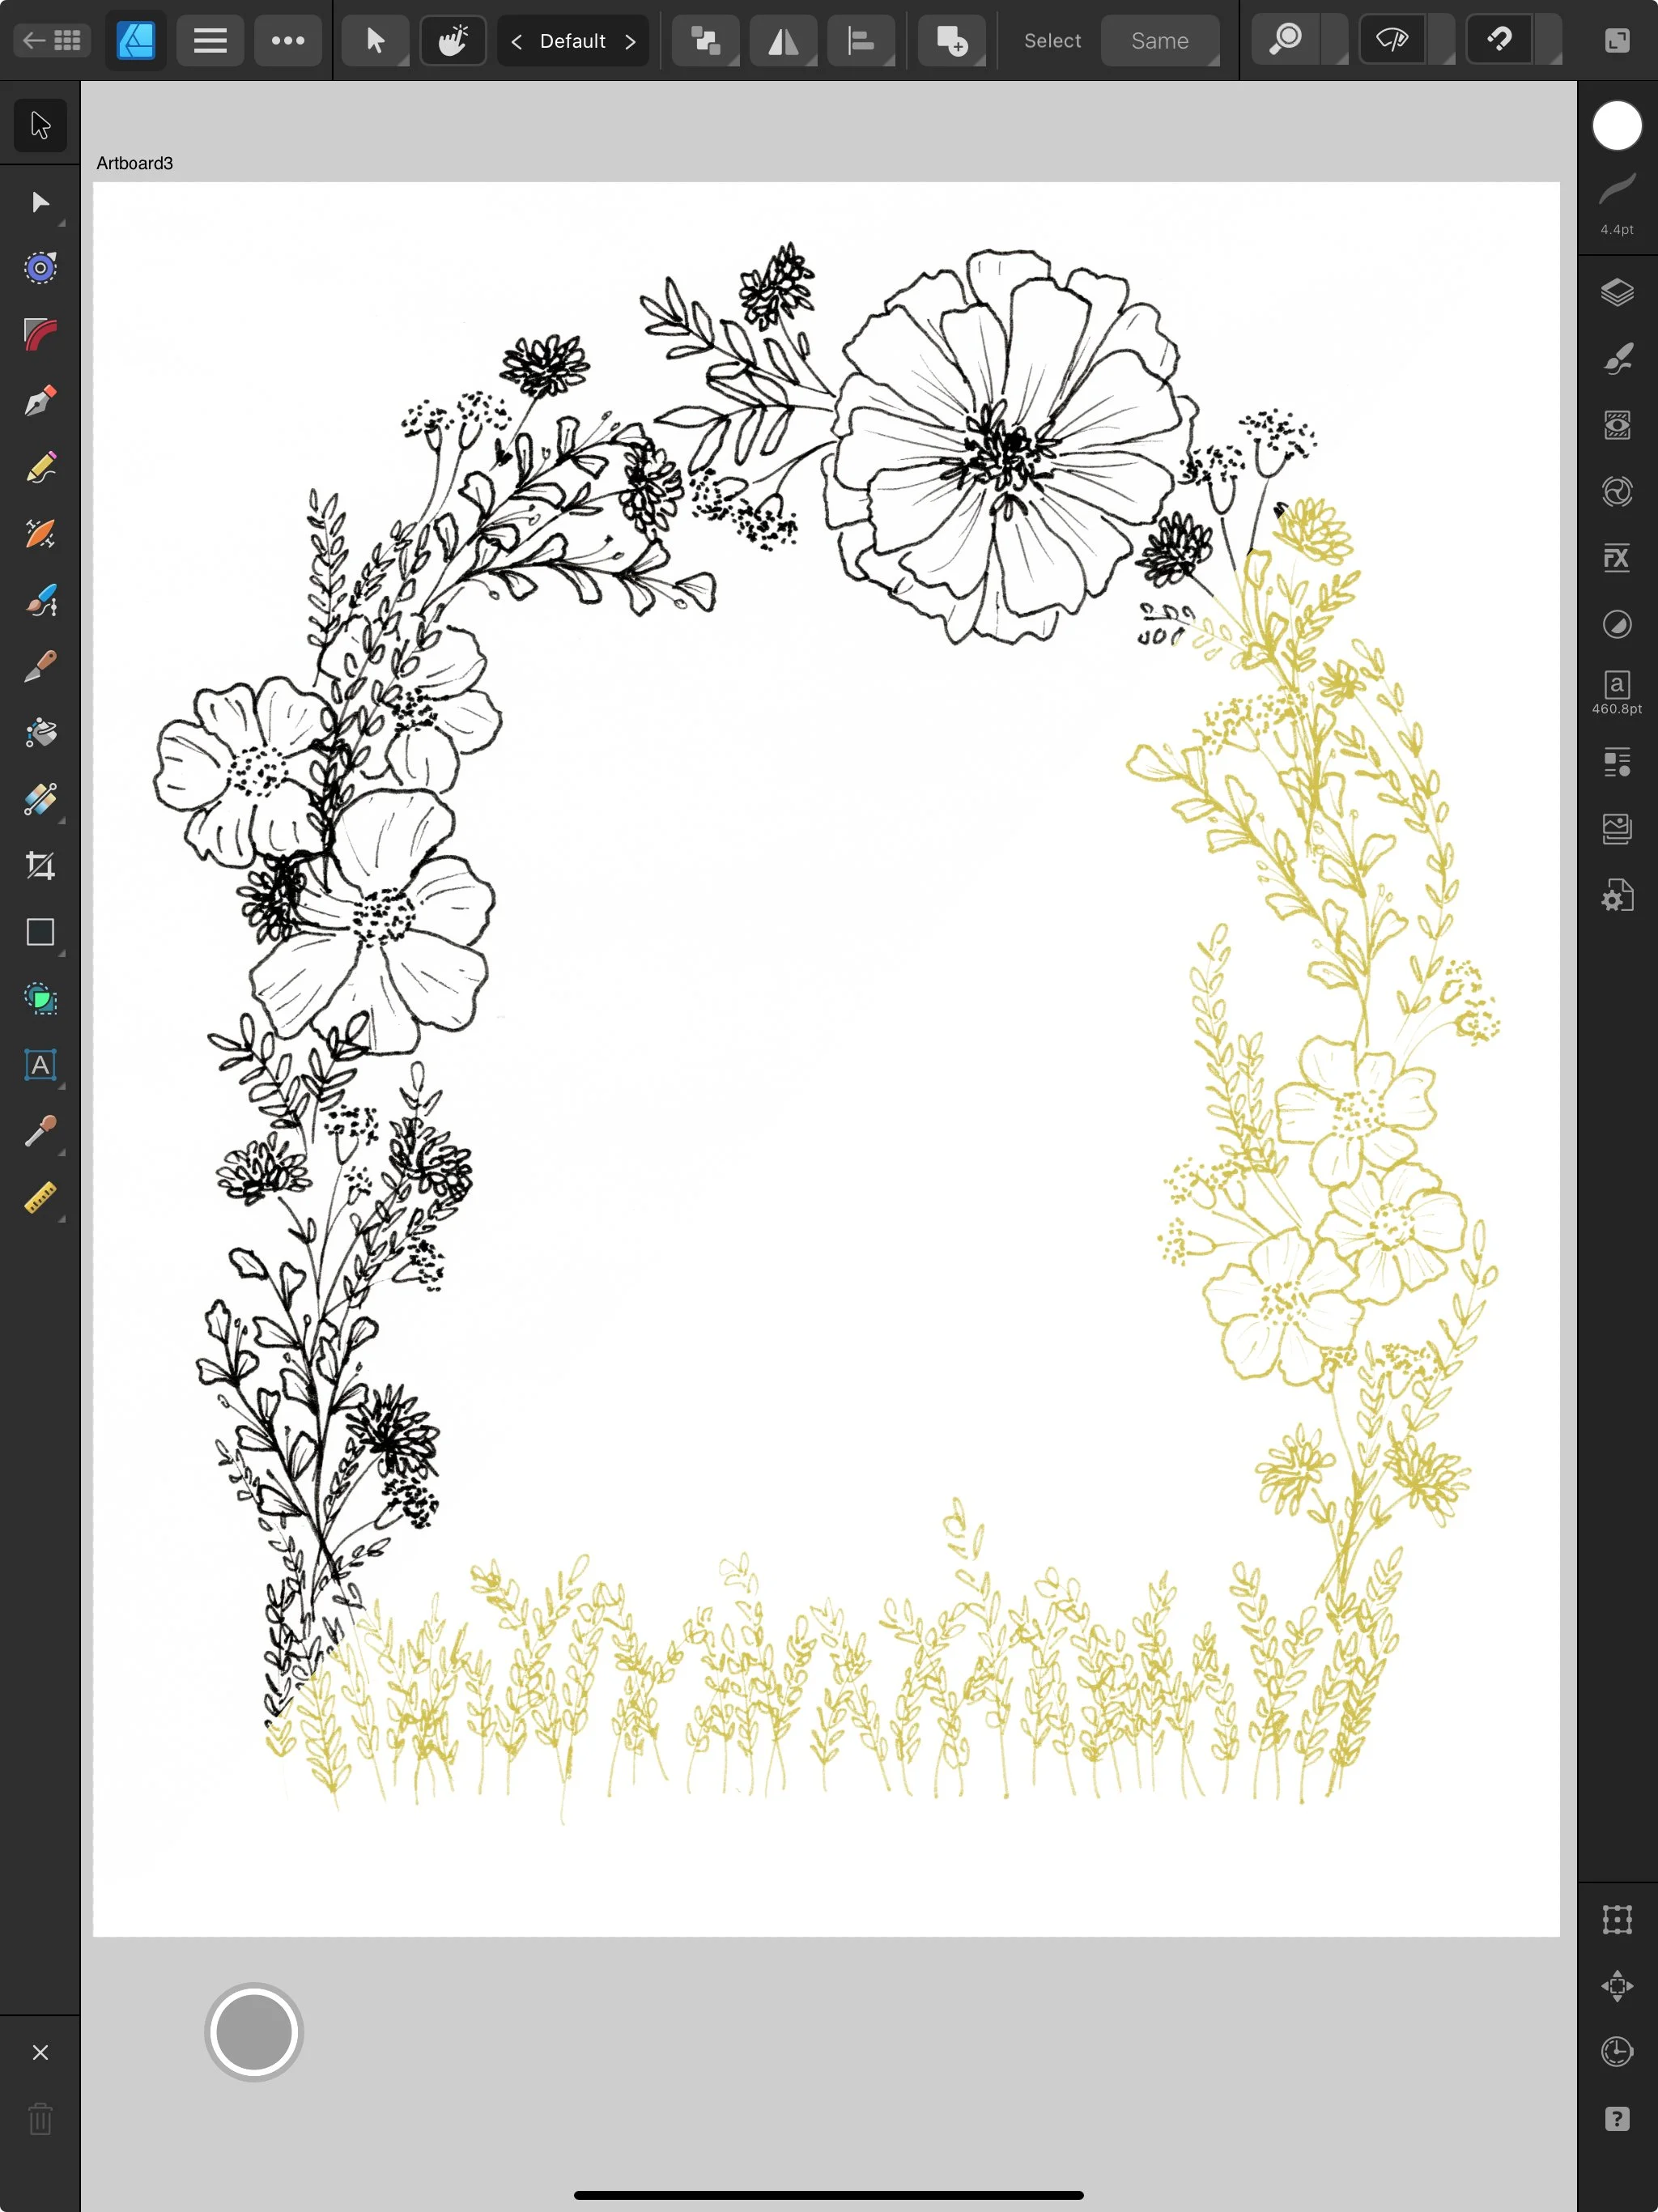
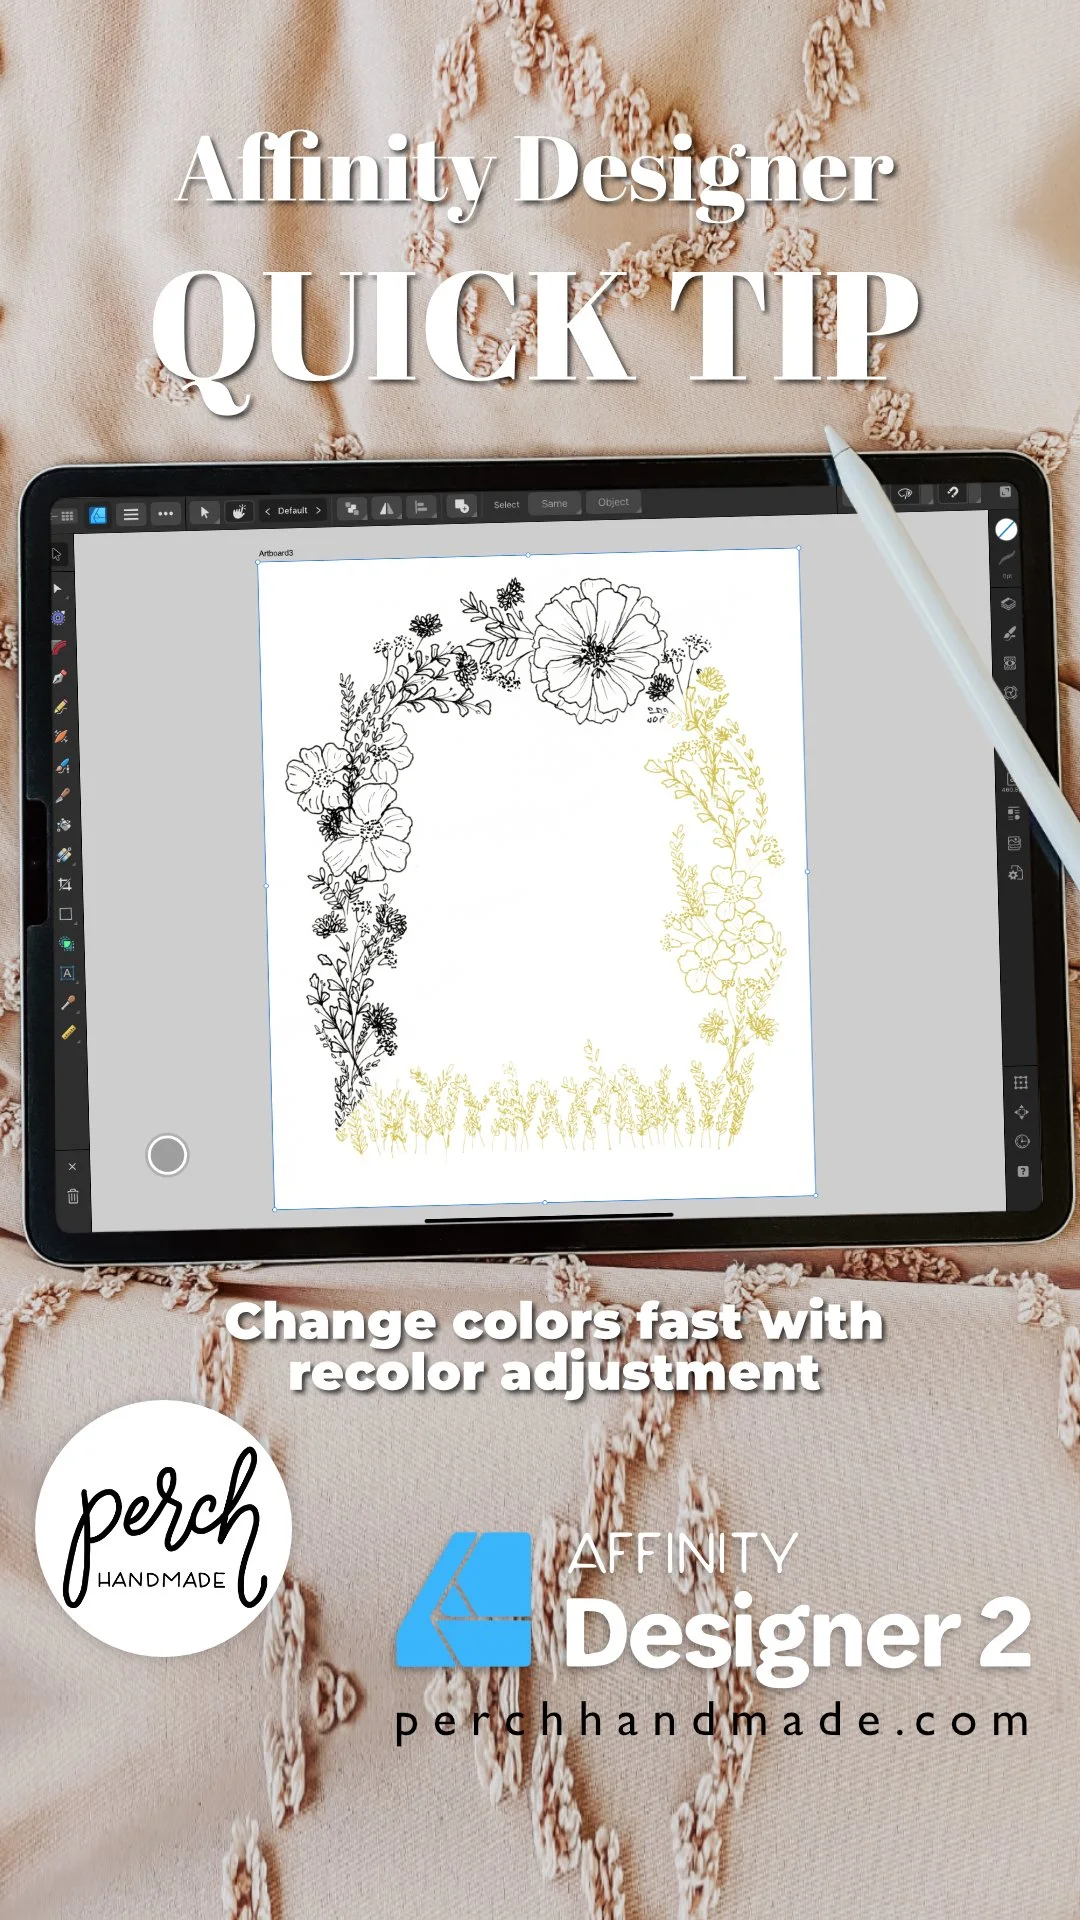
Designers, meet your new BFF: the Recolor Adjustment Tool in Affinity Designer. This clever little trick lets you change colors across your artwork without altering your original vector shapes—and yes, it’s all on the iPad.
In this Quick Tip video, I walk you through how to recolor a botanical-style illustration using the Recolor Adjustment, so you can experiment with palettes, prep for licensing, or tweak designs for different seasons—all in just a few taps.
And because this is vector, the edits are snappy, non-destructive, and easy to reverse when inspiration changes its mind (again).
Watch the Quick Tip Here:
What You’ll Learn:
Where to find the Recolor Adjustment in Affinity Designer
How to tweak hue and saturation across an entire vector design
Why this tool’s a lifesaver for color explorations, repeats, and design mockups
A peek at my botanical illustration, drawn using The Pigeon Letters Studio Monoline Pens (affiliate link below ⤵︎)

Featured Tools + Links
While I’m not drawing in this video, the illustration shown was created using these dreamy pens from The Pigeon Letters:
Studio Monoline Pens by The Pigeon Letters
Also in my lineup (and highly recommended):
Gouache Studio Box for Procreate – for if you’re hopping between platforms like I do
The Steps:
Tap the FX icon (the Adjustment Studio) in the right sidebar.
Scroll down and tap Recolor Adjustment.
Slide the Hue, Saturation, and Lightness controls to preview your color shift.
Tap the back arrow to accept changes—or tap Reset to start over.
That’s it! Bask in your beautiful new palette.
Want More Affinity Designer Classes?
I’ve got more classes for Affinity Designer on iPad coming soon—from playful sticker-style vector art to rich, textured typography (with retro fruit vibes, naturally).
Even more tutorials here!⤴︎
Or hop on my list to be the first to hear when new Affinity classes drop.
Also Handy: Remove White Backgrounds in Procreate
Working in both Procreate and Affinity Designer? You might also love this Quick Tip in Procreate where I show you how to remove a white background without flattening your art or losing your lines. It's a super helpful trick for botanical designs, sticker-making, and exporting your artwork with transparency.
Give it a watch, then pin it to your mental board of “why didn’t I know this sooner?” tools.
Quick Tip Twins: Same Artwork, Different Apps
I used the same botanical line art in a Quick Tip for Procreate, but this time I show you how to remove the white background using layer masks and curves—without flattening anything.
Pin This Post!
Final Nudge
Let’s be real: no one wants to rebuild a vector just to test a new palette. This Affinity Designer trick is simple, snappy, and gives you that “ohhhh, this is fun again” feeling. Try it out on your next illustration and let me know how it goes.
And hey, check out the Procreate version of this trick right here.


Hi, I’m Katie and this is
Perch Handmade.
I’m a digital artist and teacher offering you a look into my creative adventure. Enjoy the ride!
I may receive commissions from purchases made through links in this article. I wouldn't promote them if I didn't believe in them wholeheartedly!
(At no additional cost to you)


50% off your first year of Flodesk
