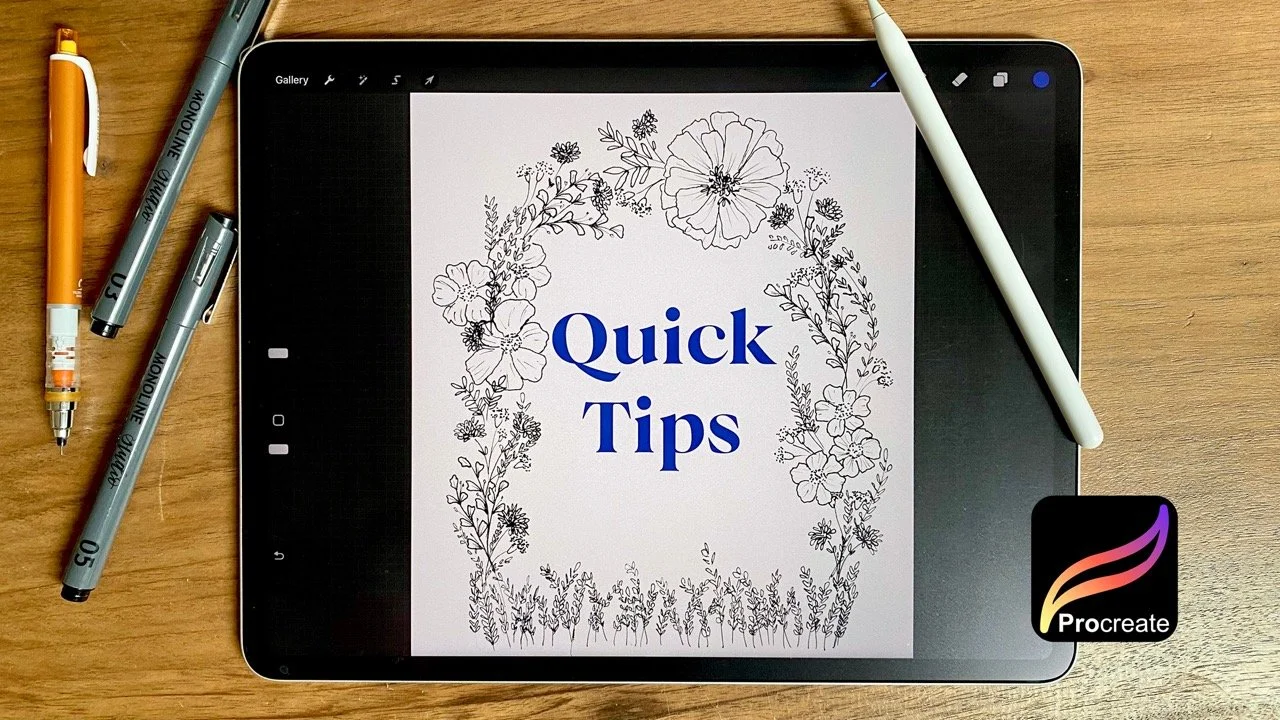
Quick Tip in Procreate: Remove White Backgrounds Fast with Masks + Curves
I may receive commissions from purchases made through links in this article. I wouldn't promote them if I didn't believe in them wholeheartedly! (At no additional cost to you)Remove White Backgrounds in Procreate (The Fast + Clean Way)

📌 Pin for later
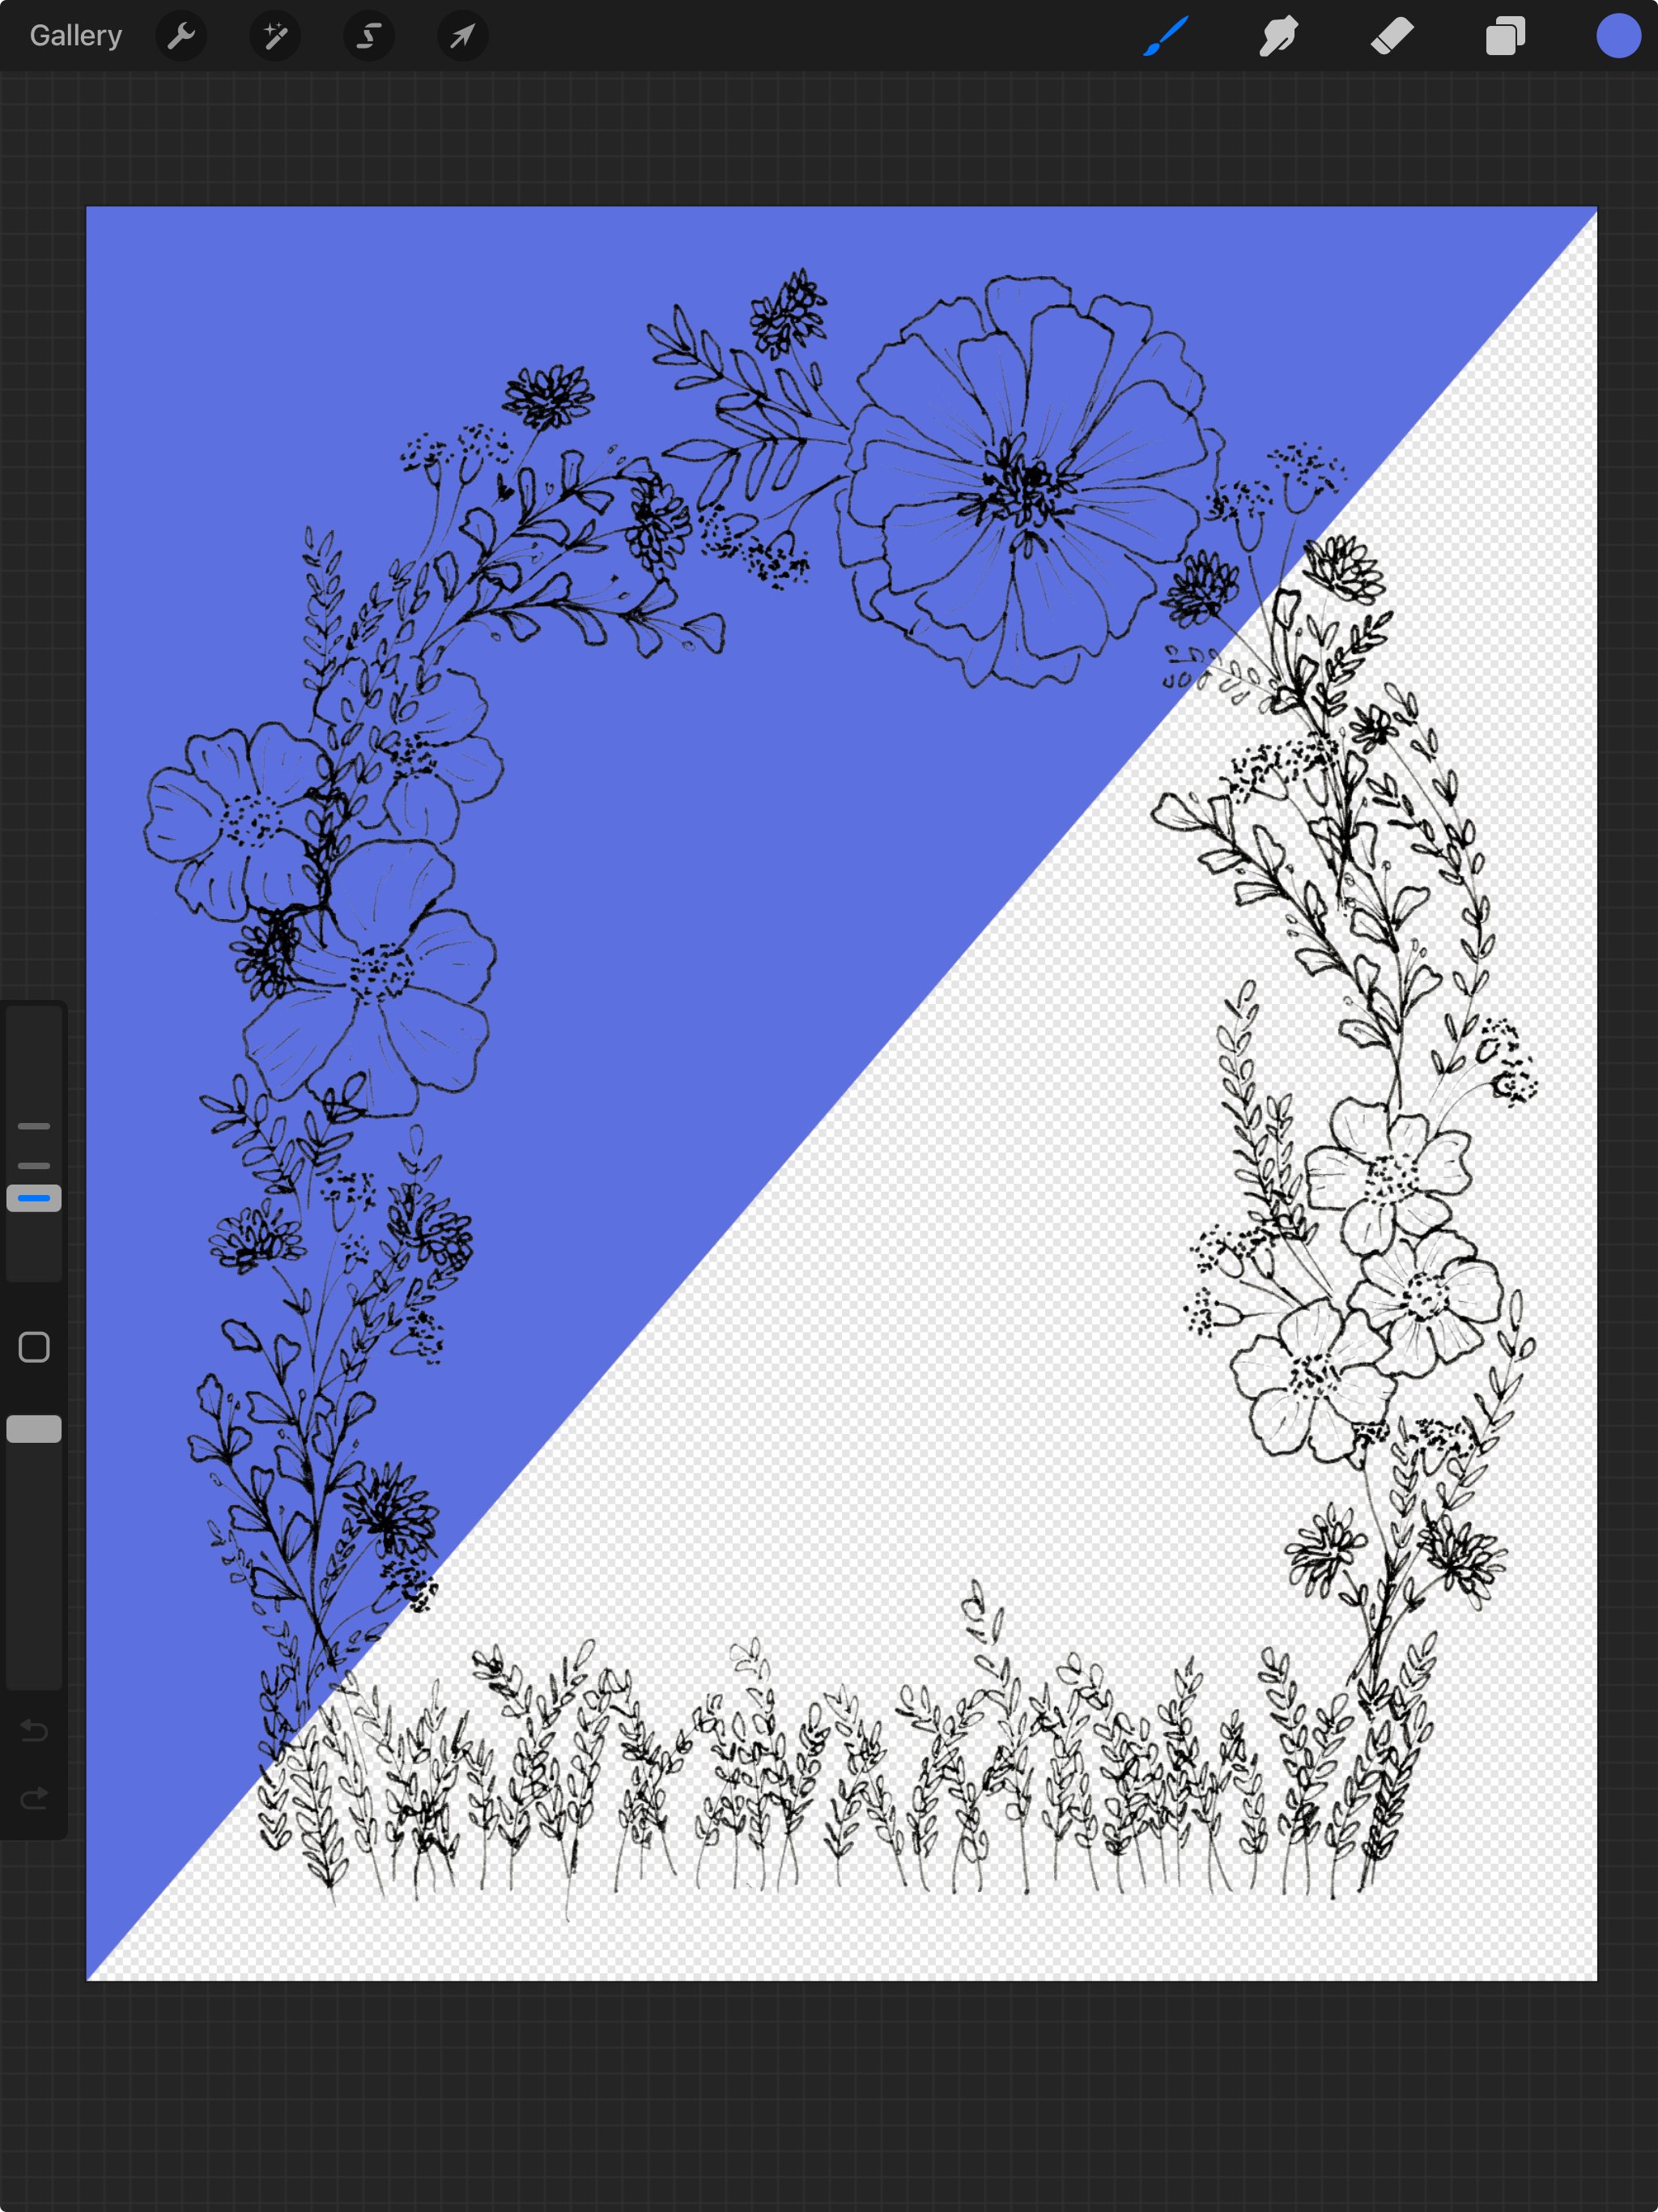
Got a line drawing you love but stuck with a white background? I’ve got a buttery-smooth fix for you—no erasing, no flattening, and no lost detail. This quick Procreate tutorial shows how to use layer masks and the Curves adjustmentto remove a white background from your line art in under a minute.
Whether you’re prepping art for stickers, digital downloads, or slapping it onto a cozy tote bag, having a transparent background is non-negotiable. And luckily? Procreate makes this surprisingly simple once you know the right combo of tools.
I’m using one of my botanical illustrations for this walkthrough, created with the dreamy Studio Monoline Pens from The Pigeon Letters. Clean lines + quick edits = workflow magic.
In this Quick Tip video, I walk you through removing the white background from a botanical line illustration using the Mask Tool and the Curves Adjustment. It’s lightning fast, totally clean, and doesn’t wreck your original artwork.
Watch the Quick Tip Here:
What You’ll Learn:
How to non-destructively mask your background in Procreate
Why the Curves Adjustment tool is your best friend
A smarter way to prep your designs for print-on-demand, licensing, or digital shops

Gorgeous Texture with Gouache Studio Box Brushes
After the background was gone? You know I couldn’t leave it at that. I pulled out two brushes from Peggy Dean’s Gouache Studio Box to finish this piece—and whoa. Total texture heaven.
Gouache | Sediment Brush – For those crumbly, chalky edges you dream about.
Rough Watercolor Paper Texture Brush – Adds paper tooth and vintage charm with every stroke.
You can see the brushy richness in the close-up shots below. If you grab these through my affiliate link, it buys me a hot minty honey tea (because my voice is still recovering while I make all this for you—tea = power).
The Steps:
Duplicate your artwork layer. Always a good move.
Tap on the layer, choose Mask.
Invert the mask if needed so your drawing stays and the background goes poof.
Go to Curves > Adjustments > Layer, and drag the black point to the right until the background disappears (about 1/2 way).
Done! Now you can export your design with a transparent background.
Want More Affinity Procreate Classes?
If this tip made your brain go ooh, come hang out with me for more in-depth classes on Procreate floral design, repeat patterns, and digital illustration magic.
Even more tutorials here!⤴︎
Or just get on the email list and I’ll send the good stuff straight to you.
Meet the Quick Tip Twins!
This botanical isn’t just a one-app wonder—I used the exact same illustration in my Quick Tip for Affinity Designer on iPad, where I show how to recolor those line details using the Recolor Adjustment Panel. It’s the other half of what I’m calling the Quick Tip Twins—two super-speedy ways to level up your artwork in either app.
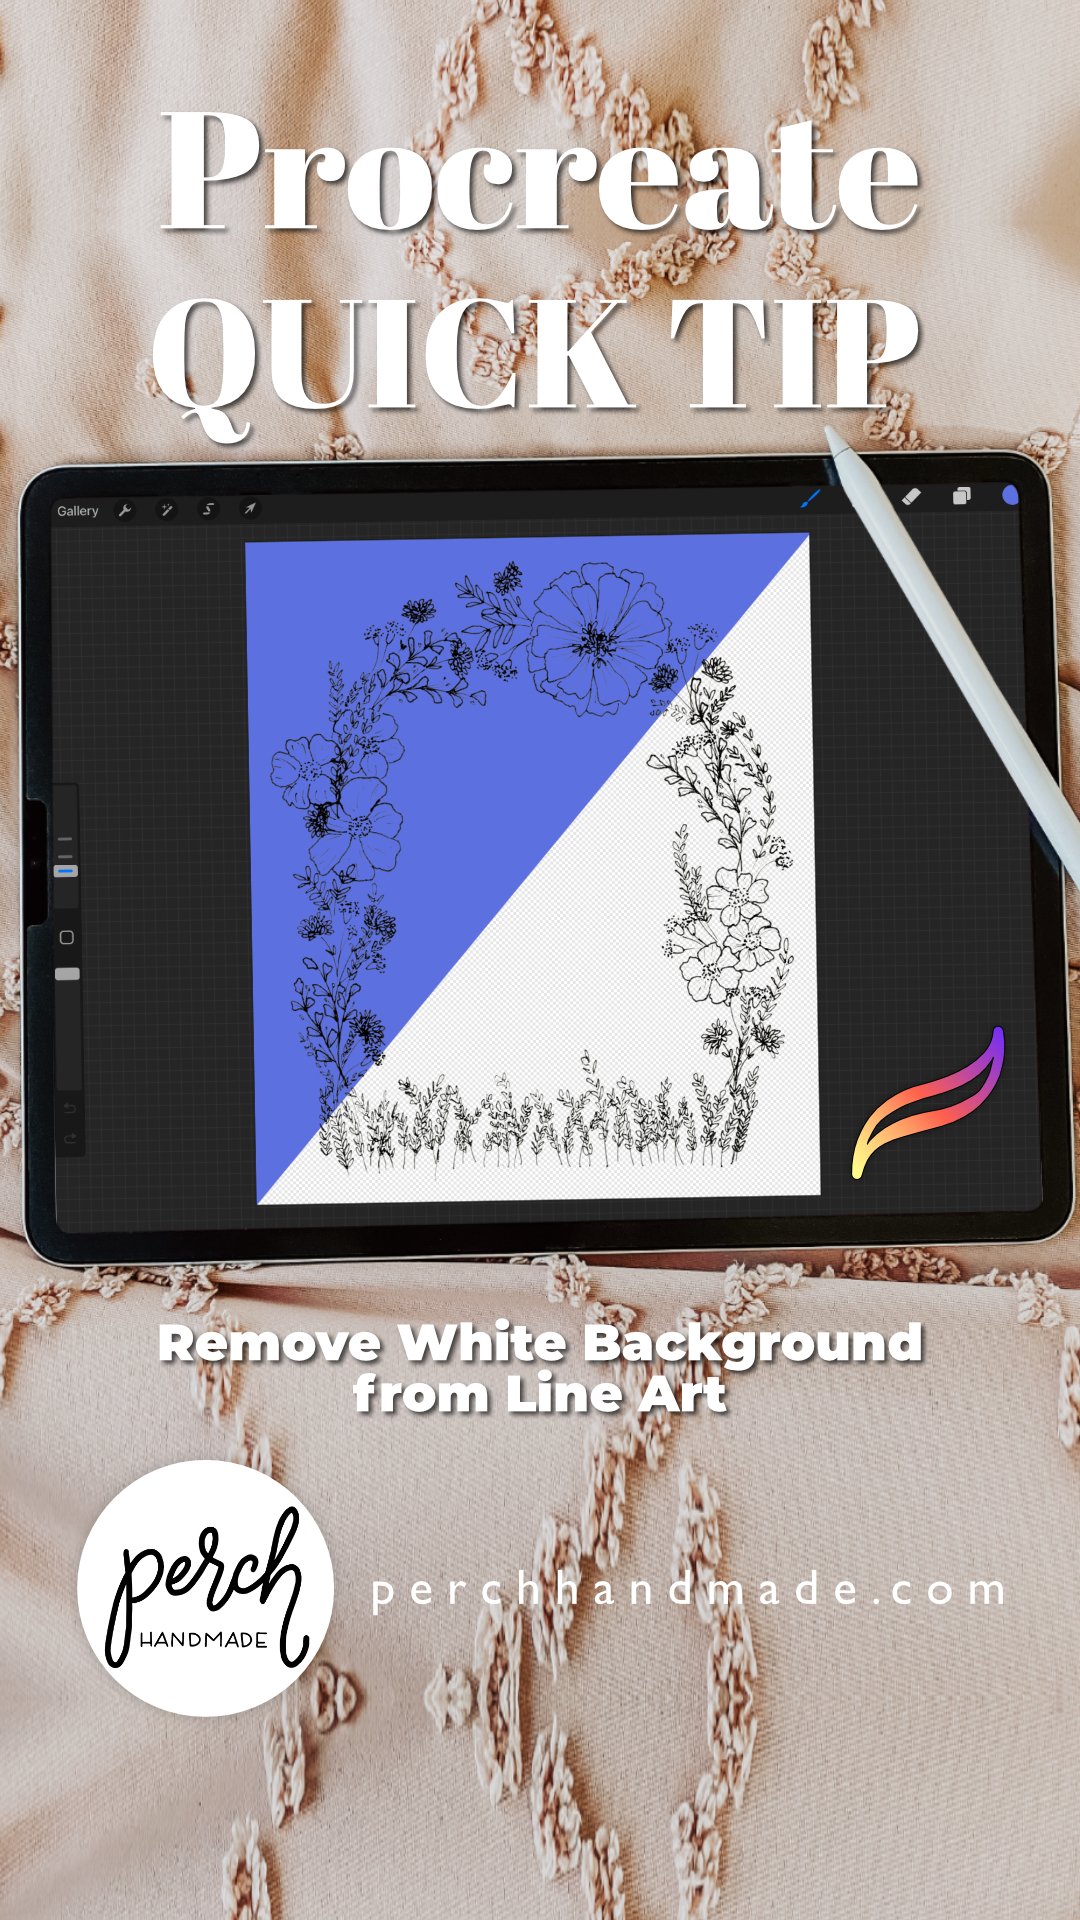
Pin This Post!
Final Nudge
Backgrounds don’t have to boss you around. Once you master this little move, you’ll save so much time prepping your digital artwork—and you’ll wonder how you ever lived without it.
Stay cozy and creative.


Hi, I’m Katie and this is
Perch Handmade.
I’m a digital artist and teacher offering you a look into my creative adventure. Enjoy the ride!
I may receive commissions from purchases made through links in this article. I wouldn't promote them if I didn't believe in them wholeheartedly!
(At no additional cost to you)


50% off your first year of Flodesk
