
How I Turn Photos Into Best-Selling Calendars, Prints, Stickers, and Cards
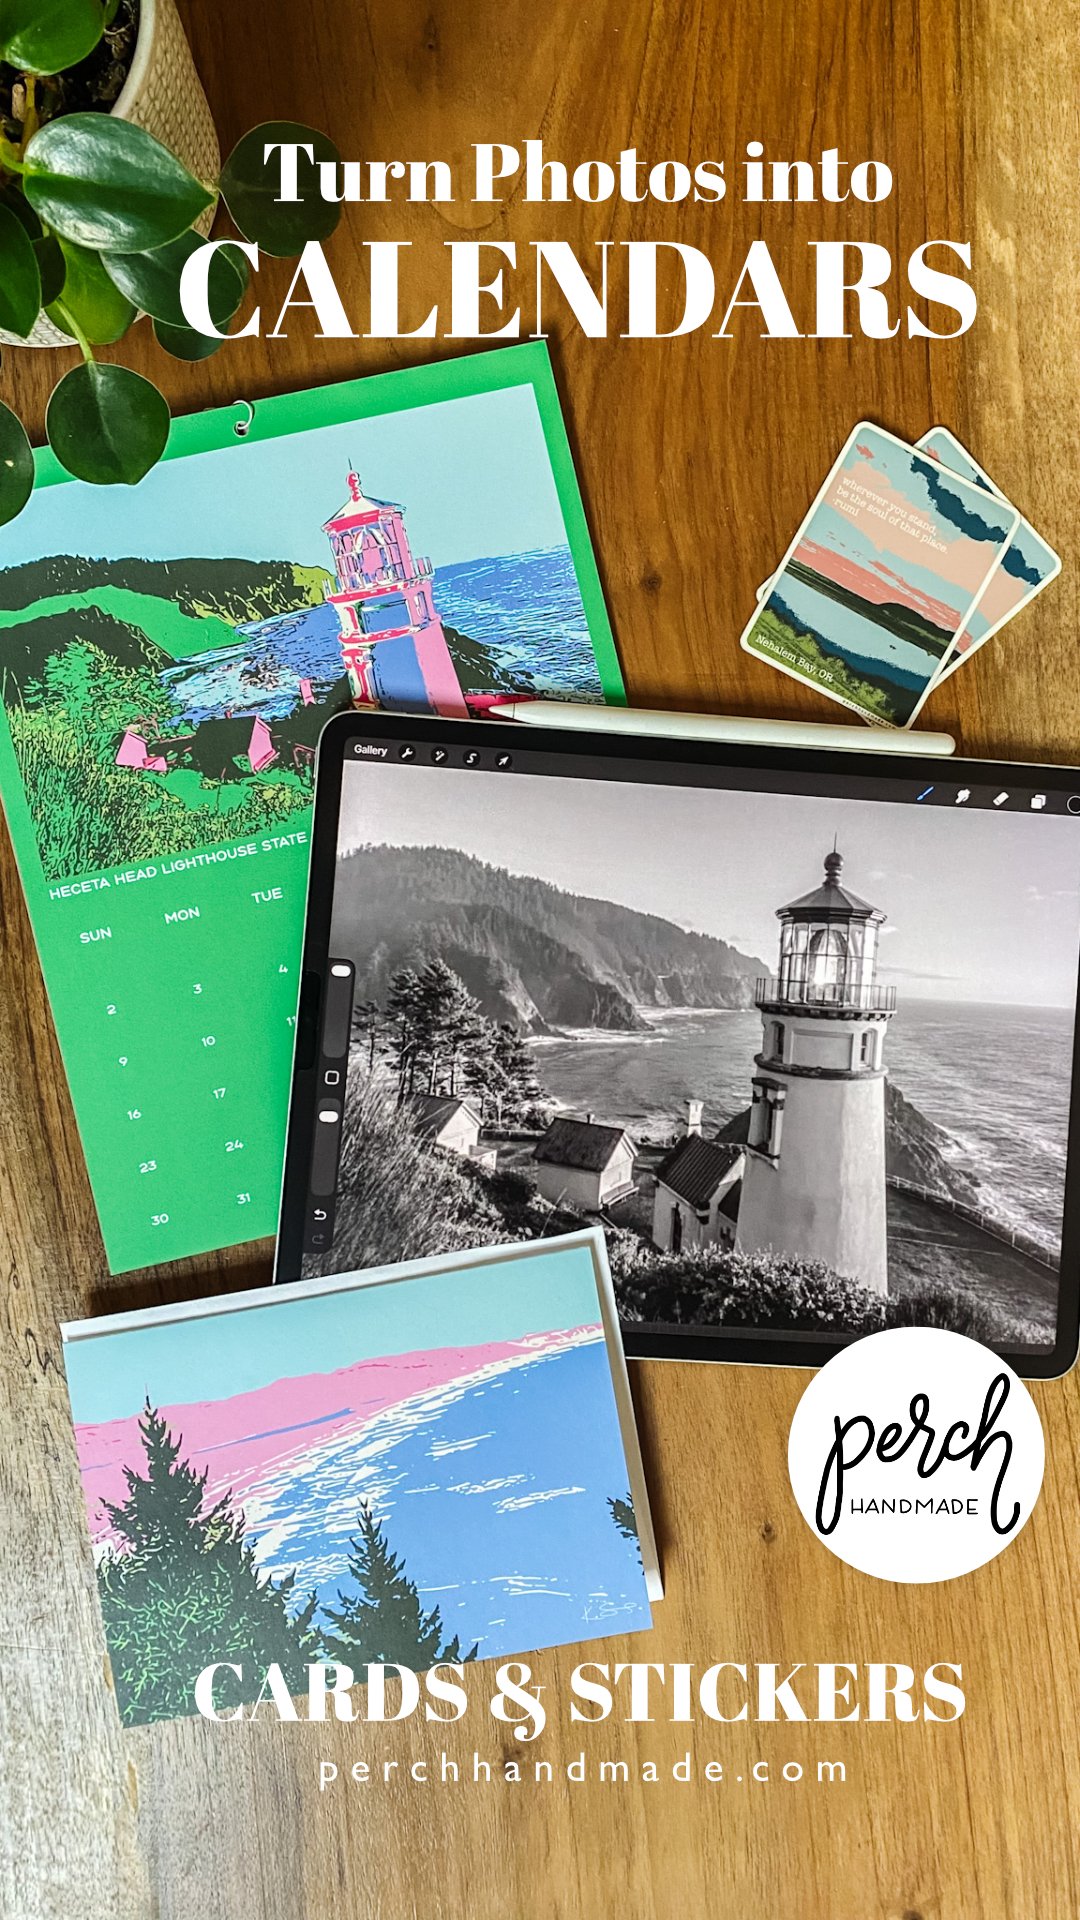
Ever wonder how a simple photograph can turn into a modern, lithograph-style calendar, sticker, or art print? At Perch + Paper, most of my designs start not with a sketch—but with a photo. Then, using Procreate, Affinity Designer, and Adobe Capture, I transform it into vibrant, product-ready digital art.
In this post, I’m taking you behind the scenes of the workflow I teach in my Landscapes to Chic Stickers: Procreate & Affinity Designer – iPad class, the same process I used for my best-selling calendars, prints, and stickers.
Step One: Transforming a Photo Into Digital Art
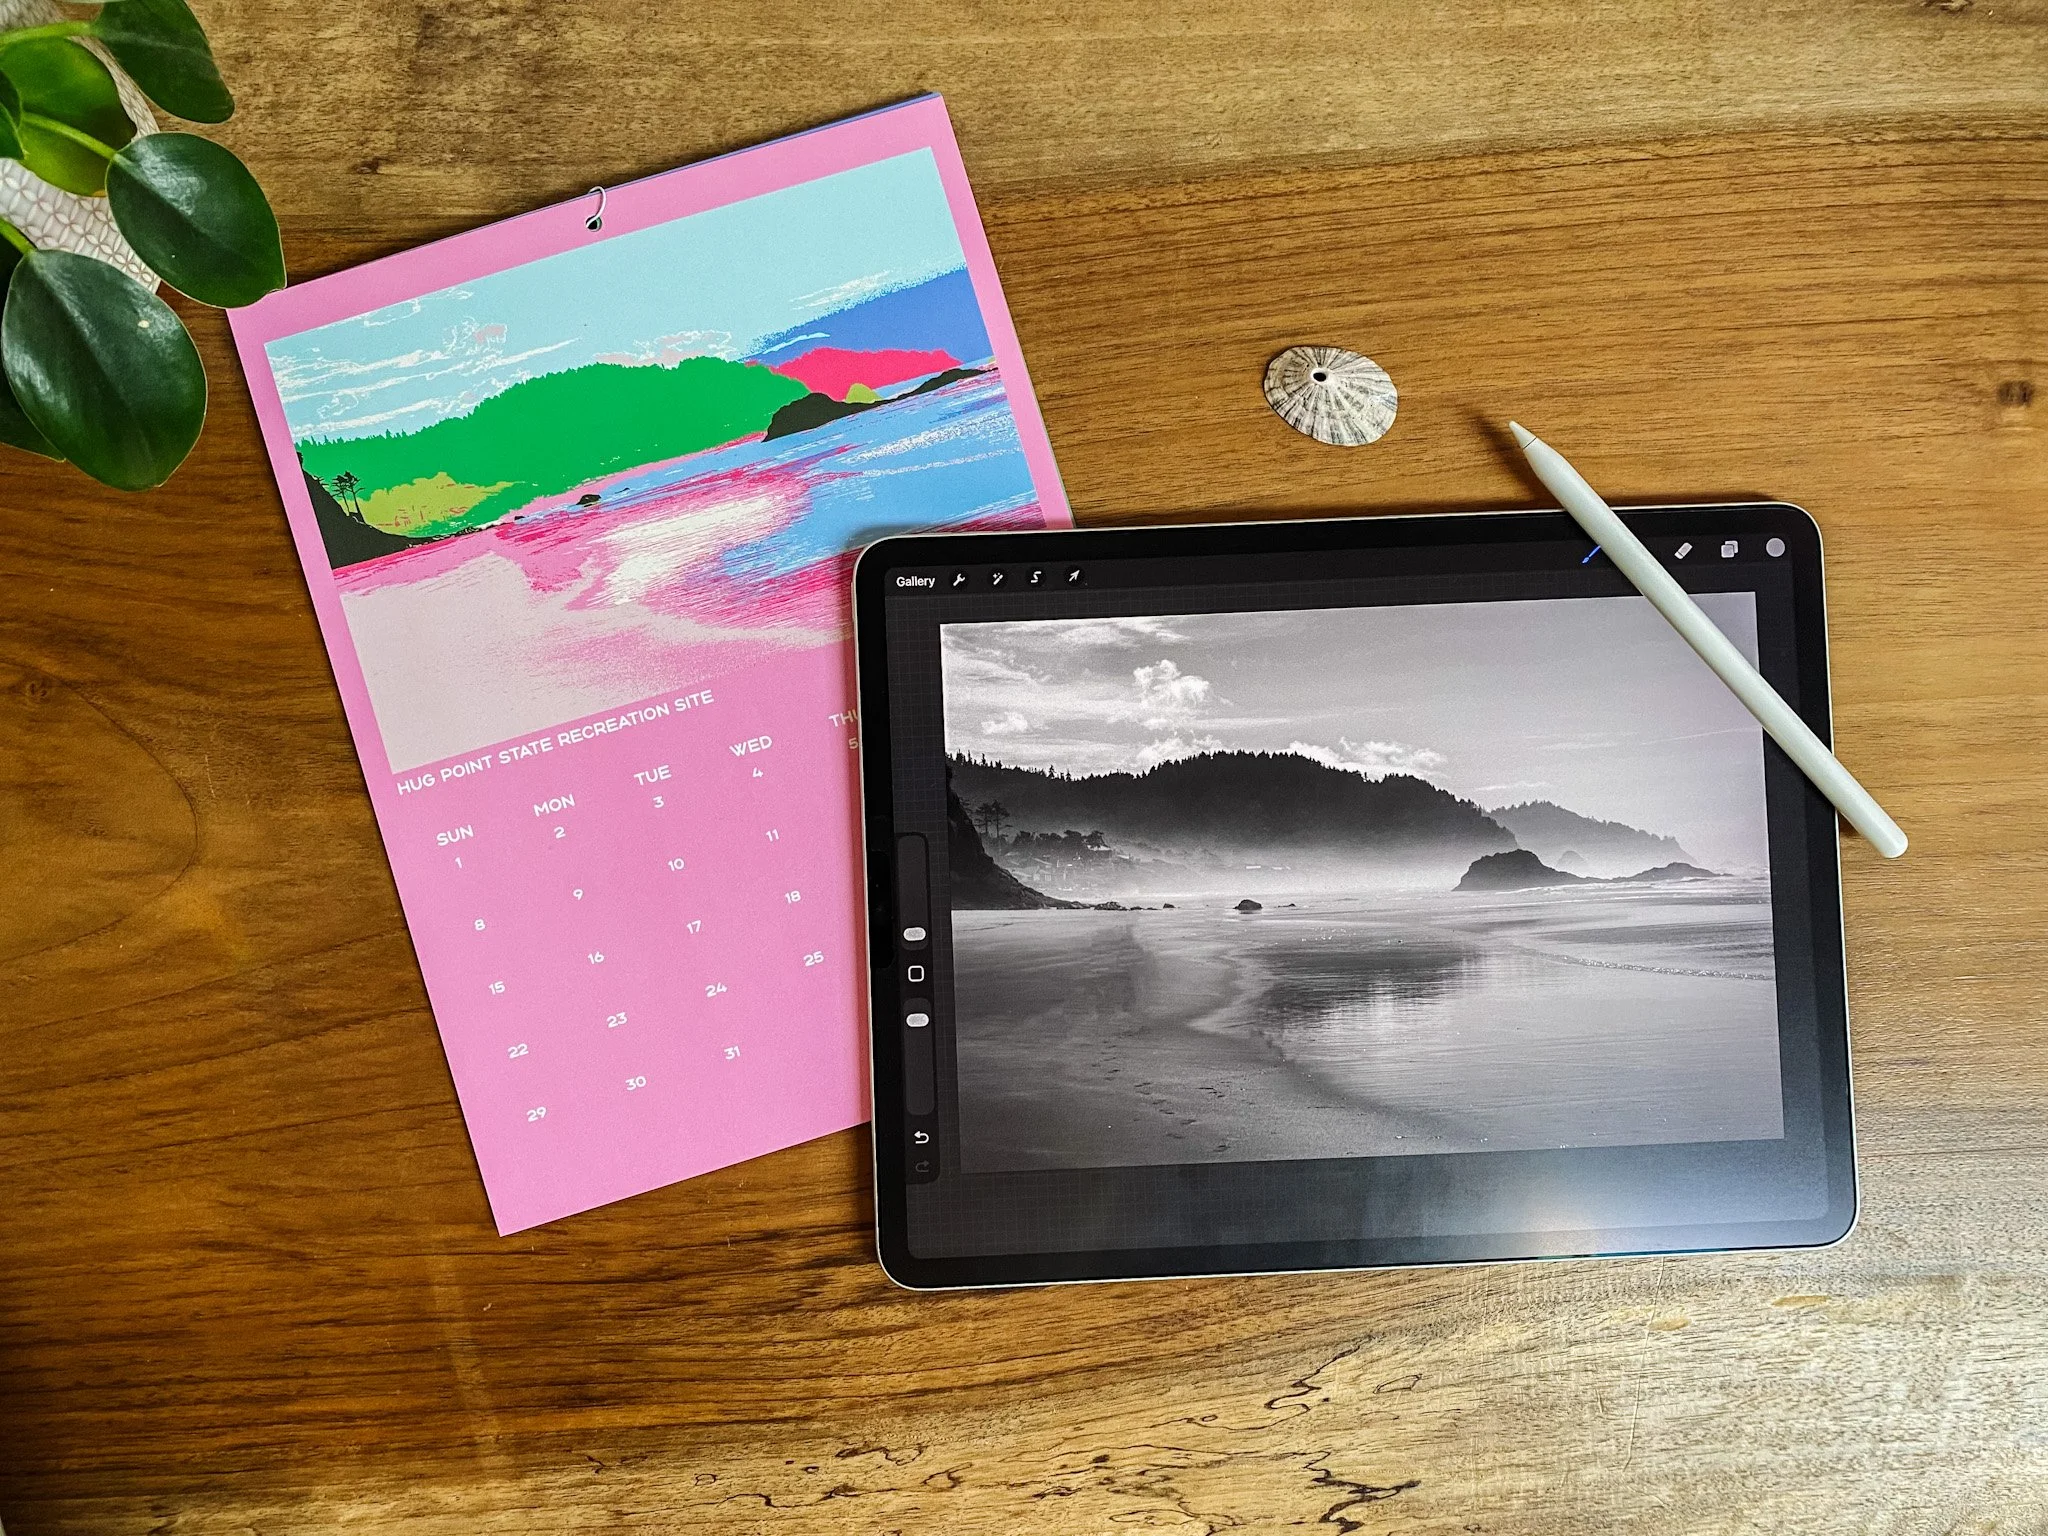
All my landscapes start with a photograph—no sketches needed. I bring it into Procreate or Affinity Designer and adjust highlights, curves, and contrast to emphasize details. I convert it to black and white to separate different areas, raising the darks and bringing up the lights. Multiple layers help me build depth and highlight natural accents.
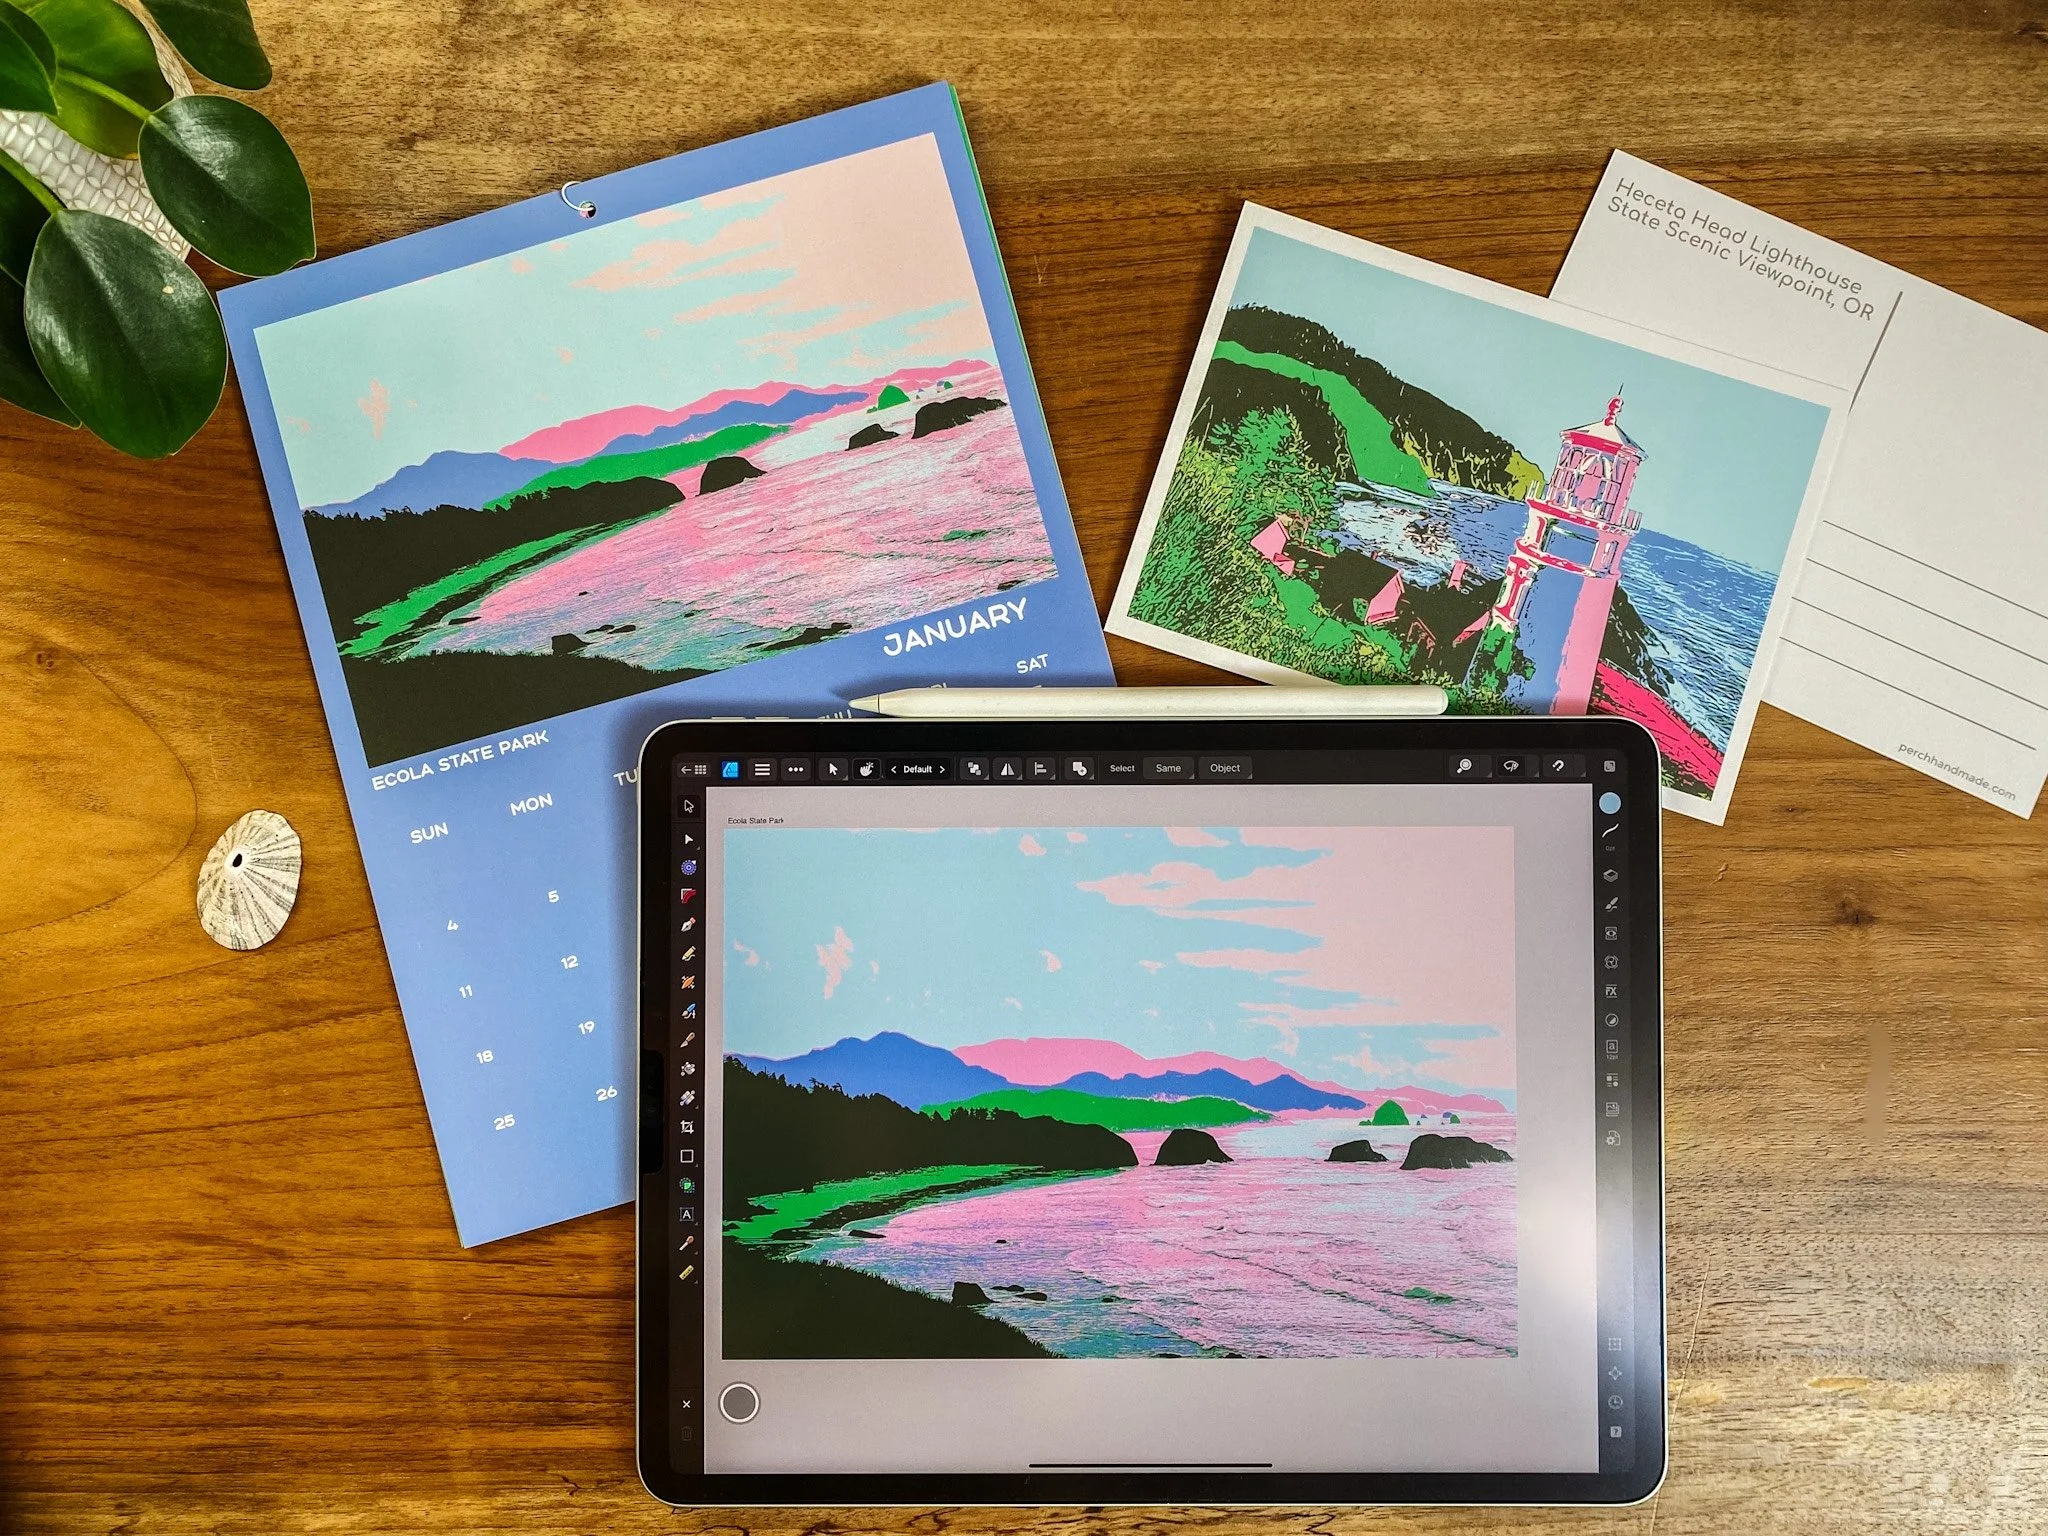
Next, I use Adobe Capture to turn each black-and-white area into vector shapes or SVG files. These are exported into Affinity Designer, where I layer the pieces, add bold color accents, and create a lithograph-inspired digital print.
Why this matters: Starting from a photo gives your design natural complexity and depth without drawing a single line. It’s the foundation for calendars, prints, and stickers—and exactly what I guide students through in the class.
Step Two: Refining and Layering in Affinity Designer
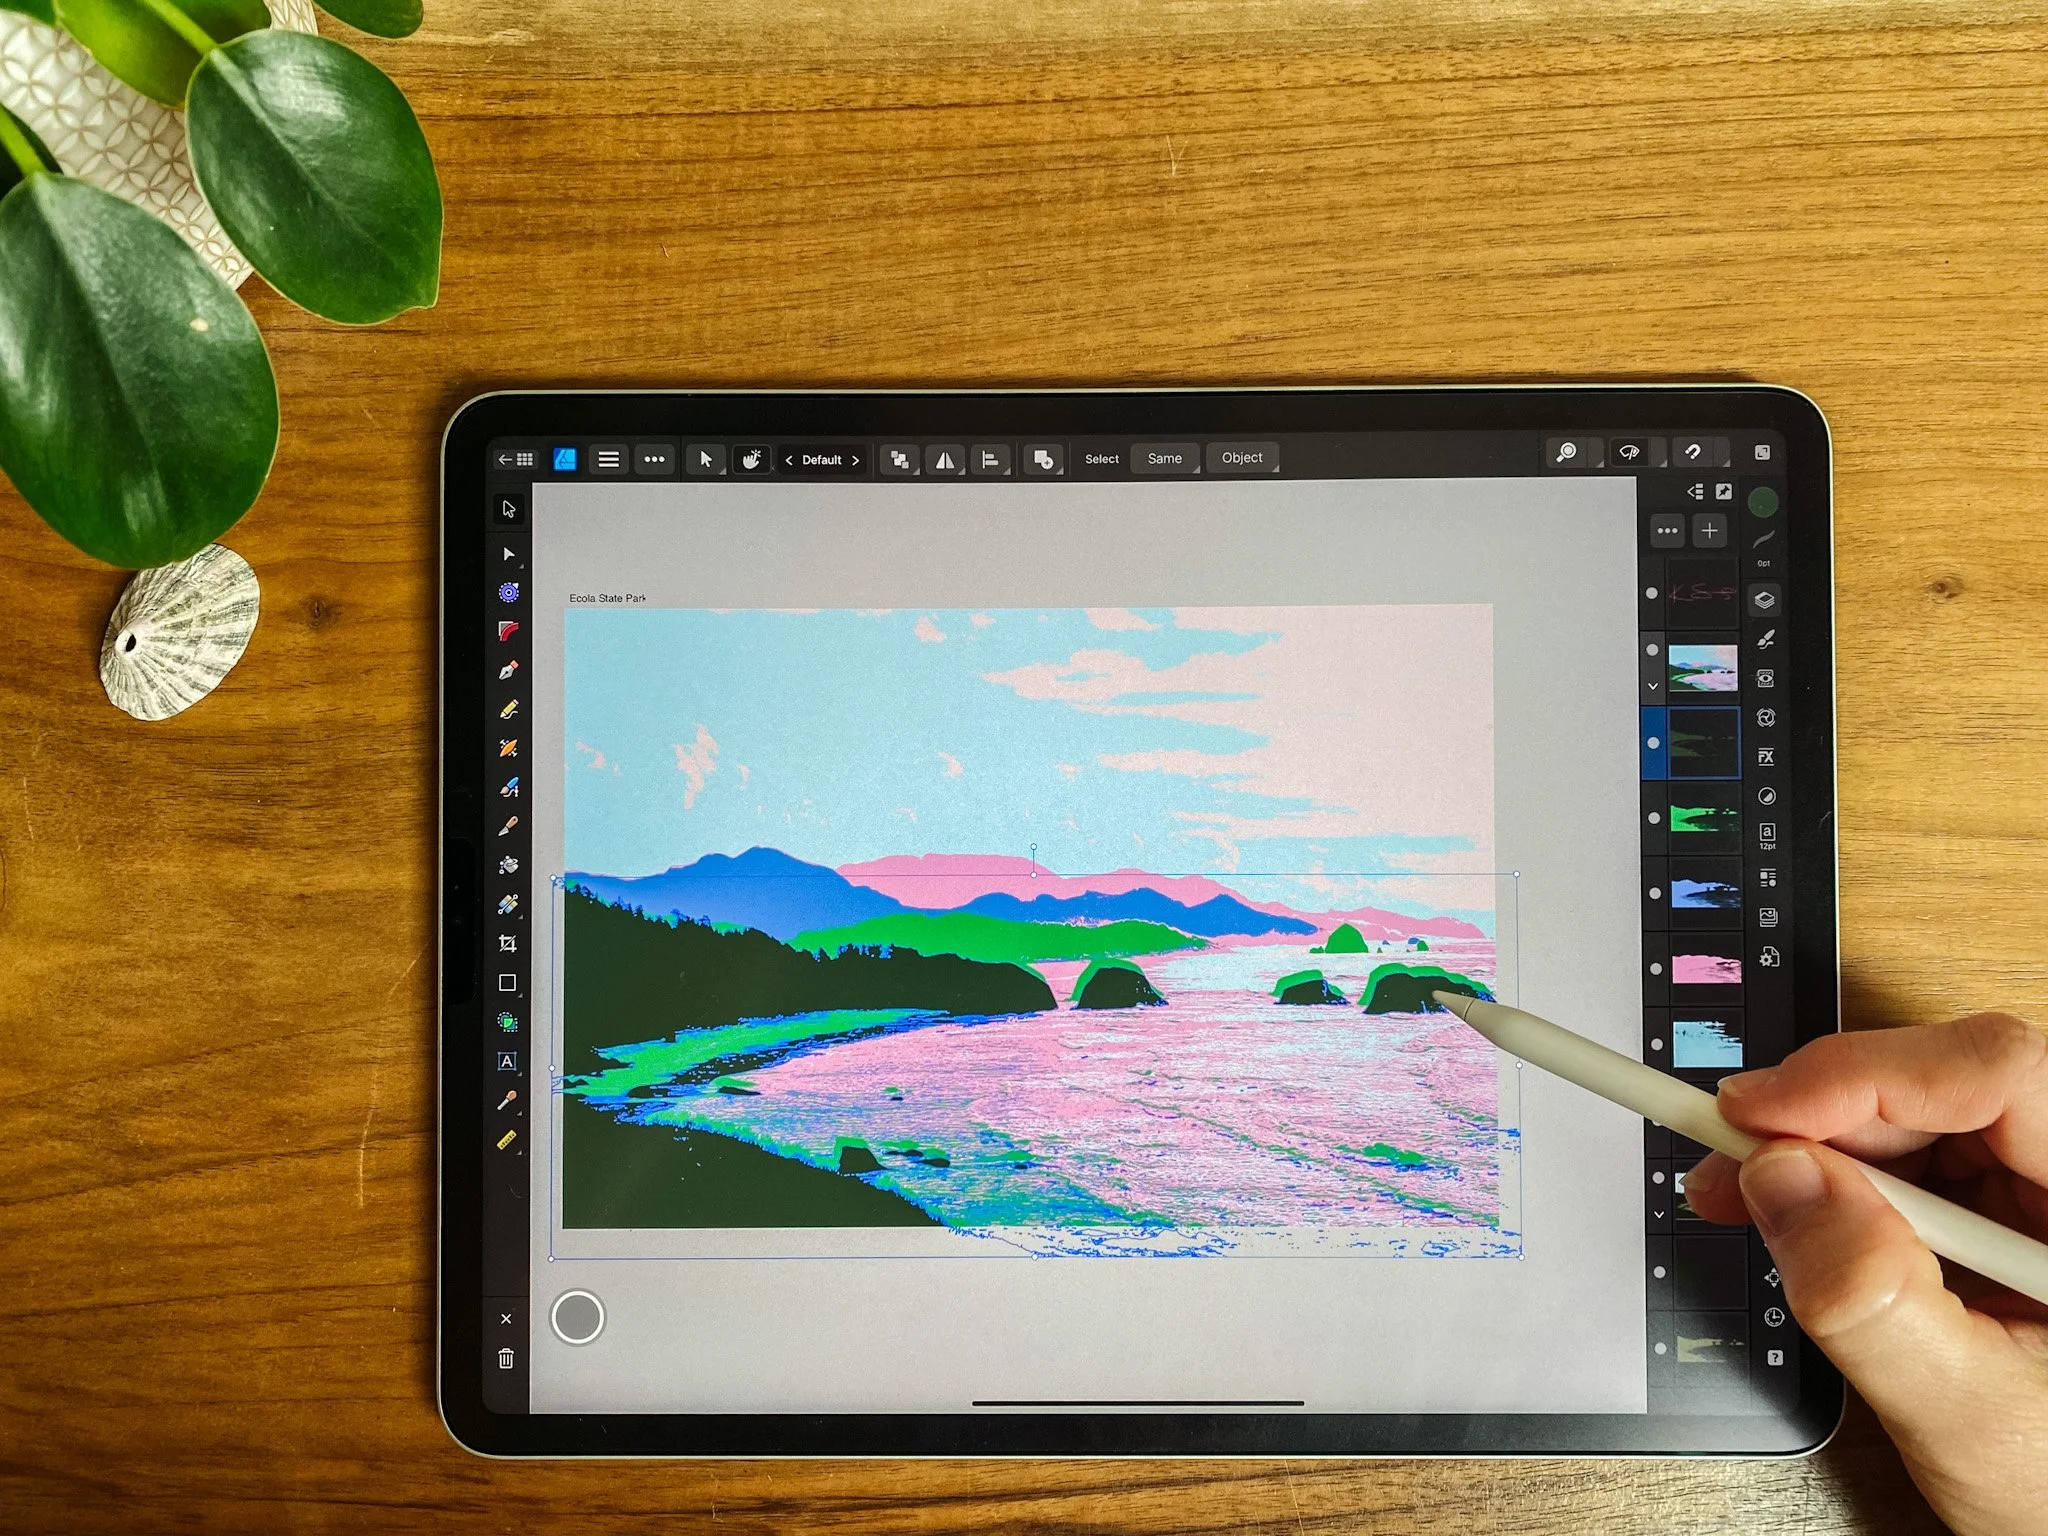
Once the vectors are in Affinity Designer, I layer, color, and adjust the pieces to highlight the elements I want to pop. This layering process gives the final illustration depth, contrast, and a polished, graphic feel. Each section can then be emphasized with bold or muted colors depending on the piece’s mood.
This is where the illustration starts to feel like a finished print, ready for stickers, cards, or a calendar page.
Step Three: Preparing Art for Products
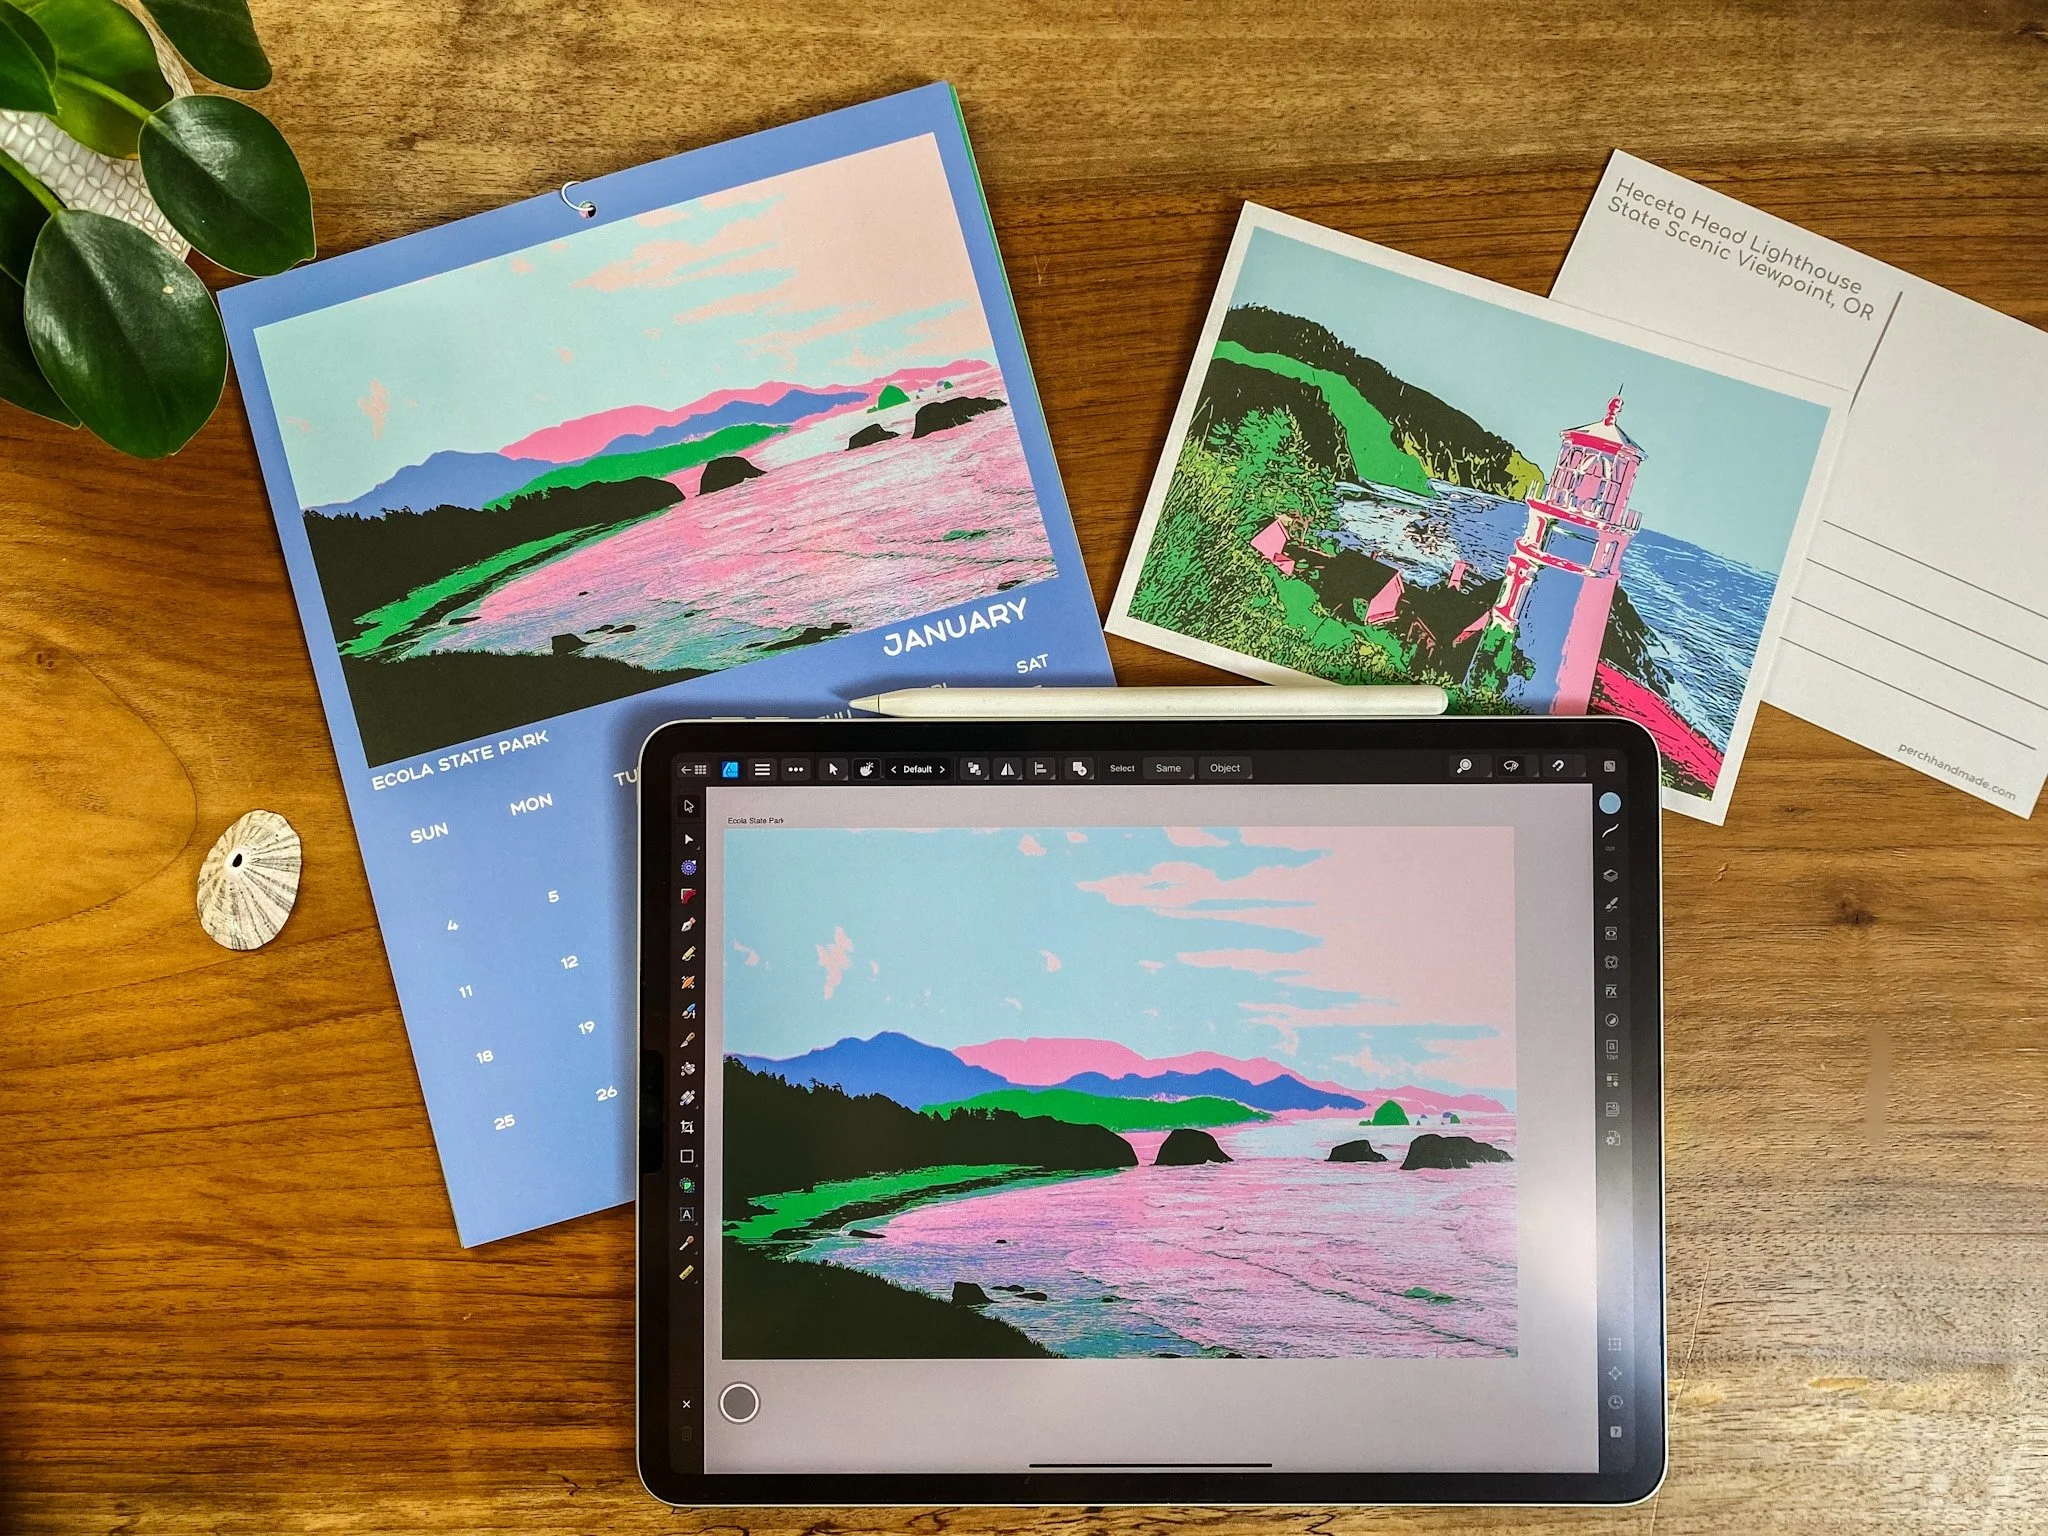
After layering and coloring, I finalize the design for product use. Depending on the product, I might:
Export for StickerApp to create stickers
Adjust sizing and color for greeting cards
Prepare calendar spreads or art prints
This step ensures everything looks professional, clean, and print-ready. The results? Vibrant, layered designs that feel intentional and sell beautifully.
Step Four: From Design to Shop
Because this workflow starts with a photo and builds digitally, every piece is scalable and reusable. The same landscape can become:
A sticker
A greeting card
A calendar page
A print for your wall
It’s how I maintain a cohesive style across all Perch + Paper products.
Learn the Workflow That Powers My Best-Selling Products

Inside Landscapes to Chic Stickers: Procreate & Affinity Designer – iPad, I walk students through this exact workflow, showing how to:
Choose the right photo to start a design
Layer and adjust highlights and contrast for depth
Convert black-and-white areas into vector shapes in Adobe Capture
Build polished digital lithograph-style prints in Affinity Designer
Prepare designs for stickers, cards, and prints
Other Product-Focused Classes You’ll Love
If you want more ways to create products for your shop, check out:
Berry Good Affinity Designer Series for iPad – playful vectors, labels, and stickers
Half Drop Pattern Party in Affinity Designer V2 – fabric and wallpaper-ready repeats
Falling for Patterns: Cozy Procreate Creations – simple pattern creation in Procreate
Simple & Perfect Half-Drop Patterns in Procreate – master repeat patterns for surface design
Shop the Finished Products
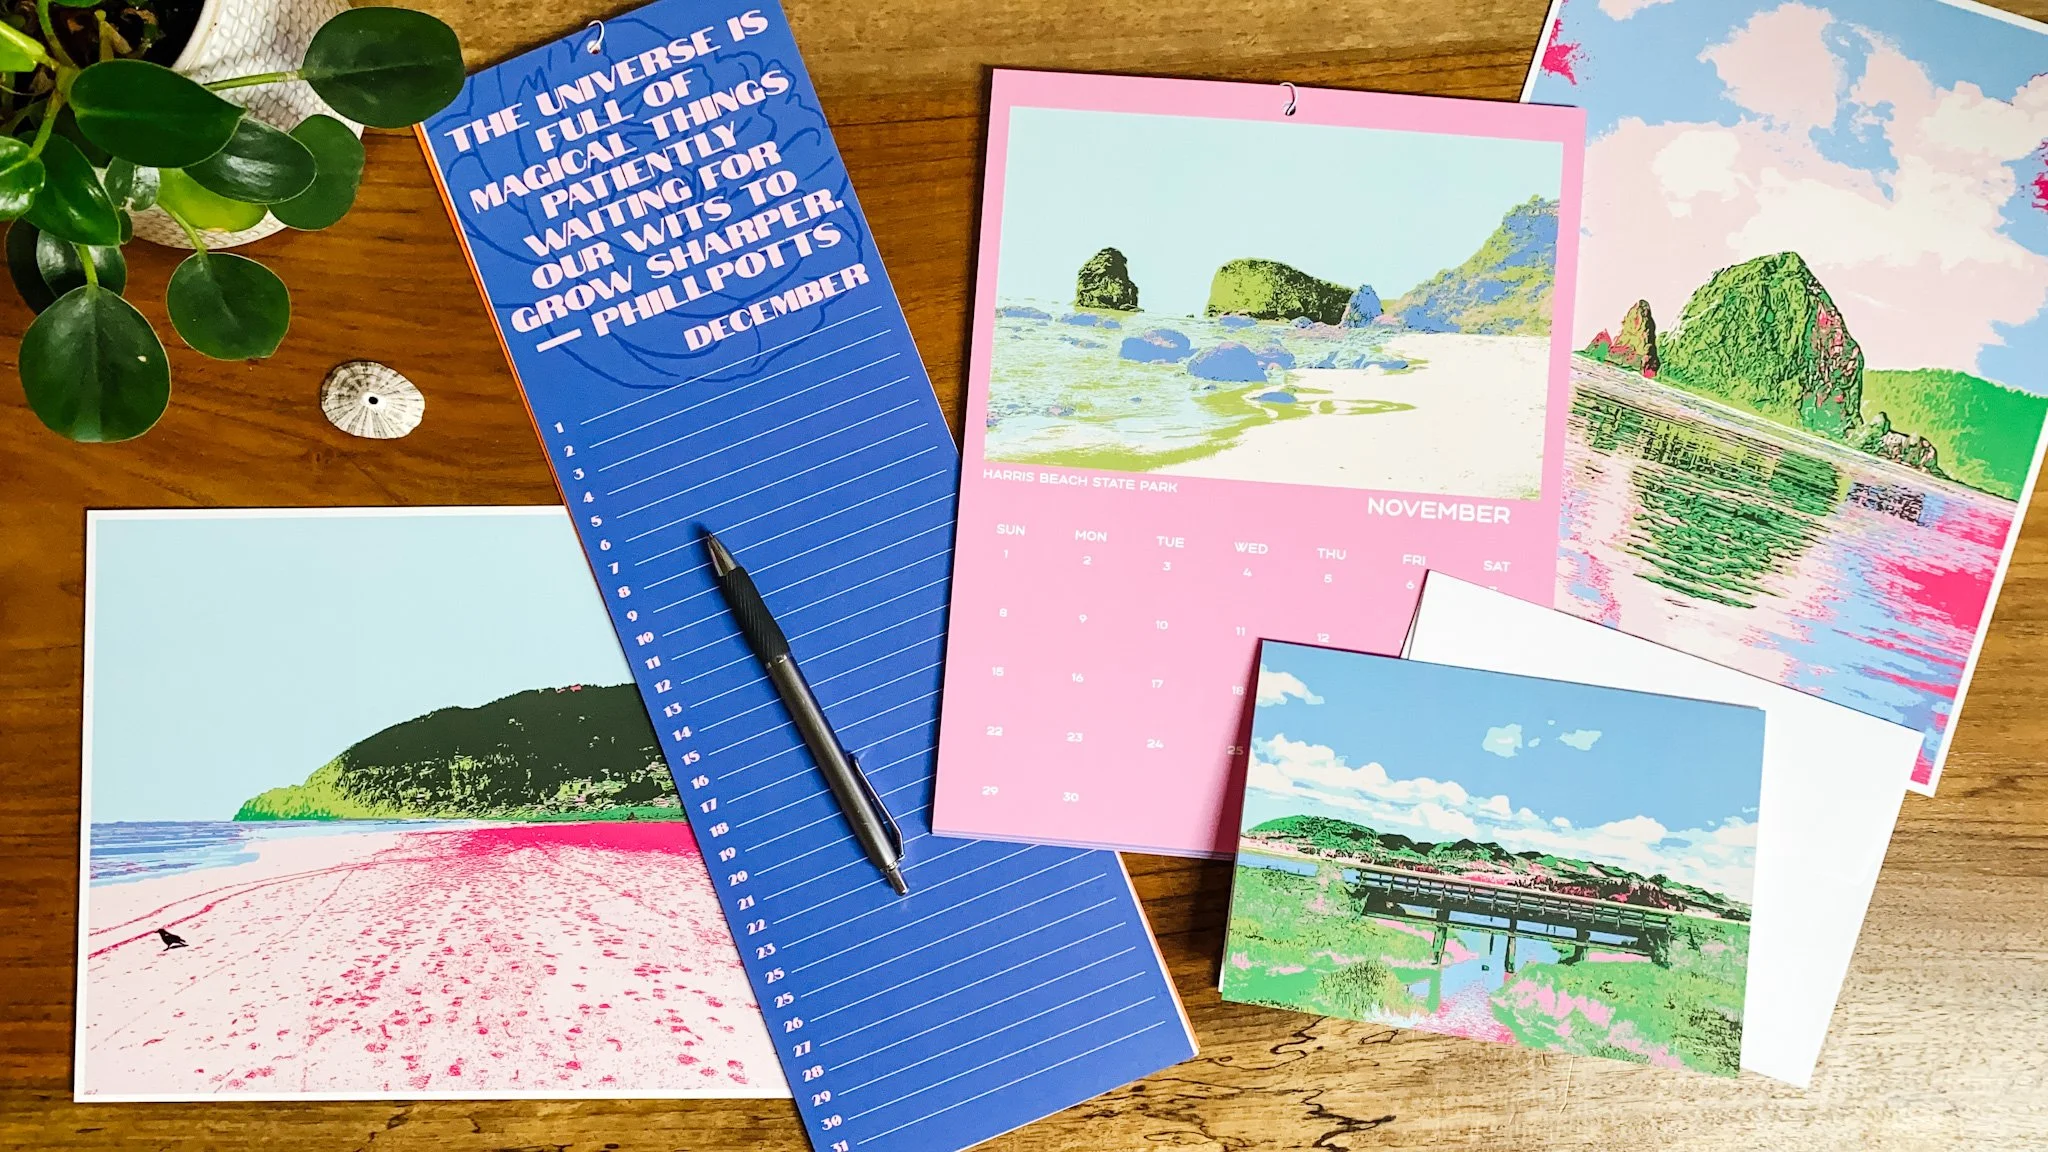
If you’d rather enjoy finished products, all the designs from this workflow are available in Perch + Paper: calendars, prints, greeting cards, and more.
P.S. For a *limited time—including Small Business Saturday—use code SALE10 for 10% off everything in all Perch Shops… including The Studio. Perfect for supporting my small business and picking up something creative for yourself or a friend.
*good until end-of-day December 31st, 2025
Hi, I’m Katie and this is
Perch Handmade.
I’m a digital artist and teacher offering you a look into my creative adventure. Enjoy the ride!


I may receive commissions from purchases made through links in this article. I wouldn't promote them if I didn't believe in them wholeheartedly!
(At no additional cost to you)


50% off your first year of Flodesk

From Oregon Coast prints to beach experiments and personal projects, Katie Simmons shares her January creativity and how her protest print supports Stand With Minnesota communities.